Styles & Inspiration
Wedding Press-On Nails: How to Choose, Test and Wear Them for Your Big Day
Your hands appear in many of the wedding day’s closest photographs: holding the bouquet, exchanging rings, signing documents, and raising a glass. Your manicure therefore needs to look polished in photos while still allowing you to move comfortably through the day.
Wedding press-on nails can offer that balance. They let you preview the complete design, prepare a matching replacement, and apply the set around your own schedule. The best result, however, depends on accurate sizing, a practical shape and length, a suitable adhesive, and a trial before the wedding.
Quick answer: Press-on nails can be a beautiful wedding-day choice when they fit correctly and are applied carefully. For many brides who need an all-day hold, nail glue is generally the more secure option, although wear depends on fit, preparation, adhesive use, and activity. Complete a trial one to two weeks before the wedding, choose a familiar length, and carry labeled spare nails and glue in your emergency kit.
1. Are Press-On Nails a Good Choice for Your Wedding?
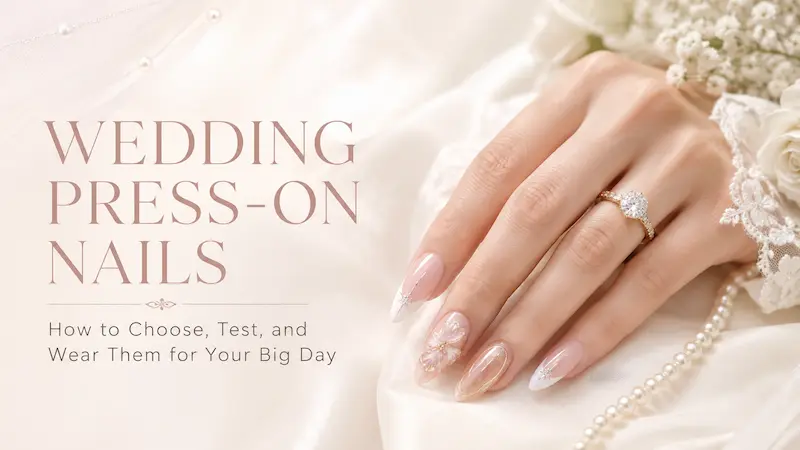
Yes. A well-fitted set can look elegant, natural, and photo-ready. It should follow the cuticle line, sit neatly along the sidewalls, and feel secure without pressing painfully against the natural nail.
Press-ons are especially useful when you want to preview the final design, avoid adding another salon appointment to a busy schedule, or prepare replacements in advance. They also make it easier to coordinate separate looks for engagement photos, a bridal shower, and the wedding itself.
For a broader introduction to fit, wear, safety, and removal, see Hana Nail’s complete guide to press-on nails.
When they may not be the right choice
Press-ons may not be ideal if you cannot complete a trial, the available sizes do not match your nail beds, or your nails and surrounding skin are irritated or injured. Avoid applying adhesive over broken skin, and stop using it if you notice persistent burning, swelling, or irritation.
A design can also be beautiful but impractical. Very long nails or large 3D charms may catch on lace, gloves, hair, or a veil. Testing the set with your outfit and accessories helps reveal these problems before the wedding day.
| Factor | Wedding press-ons | Salon gel or acrylic |
| Scheduling | Apply at home when convenient | Requires an appointment |
| Design preview | Inspect the complete set in advance | Final result is created during the service |
| Emergency repair | Carry a matching spare nail | Immediate repair may be difficult |
| Best fit | Brides who value flexibility and control | Brides who prefer professional application |
2. How to Choose Wedding Press-On Nails
The most flattering bridal nails are not necessarily the most elaborate. They should support the dress, jewelry, bouquet, and overall wedding aesthetic rather than compete with them.
2.1. Match the design to your bridal style
| Bridal style | Press-on nail direction |
| Minimalist | Sheer blush, milky white, glossy nude |
| Classic | French tips, pale pink, oval or almond |
| Romantic | Pearls, floral accents, lace-inspired details |
| Modern | Micro French, pearl chrome, clean accents |
| Boho | Warm nude, delicate flowers, soft gold |
| Glamorous | Champagne cat-eye, crystals, metallic accents |
| Colorful | Pastel details, blue accents, jewel tones |
2.2. Coordinate the color with your dress and jewelry
Wedding dresses vary from crisp white to ivory and champagne. Cool pink, sheer white, pearl chrome, and silver accents often complement bright white fabric. Warm nude, creamy blush, pearl, and soft gold tend to sit more naturally beside ivory or champagne.
Use the dress as a balancing guide. If it is heavily embellished, a simple manicure often photographs more cleanly. A minimal dress can support a more decorative accent nail. Gold jewelry pairs naturally with champagne, cream, and warm nude, while silver or platinum works well with cool pink, milky white, pearl, and silver chrome.
Take trial photos while wearing your engagement ring. Check the set in daylight, indoor lighting, and flash, because reflective chrome and cat-eye finishes may appear different on camera.
2.3. Choose a shape and length you can comfortably wear
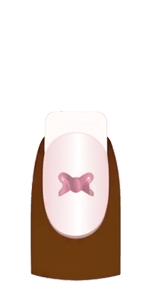
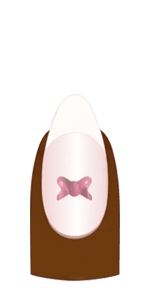
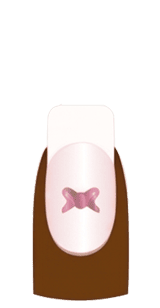
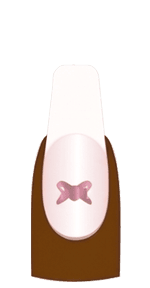
| Shape | Bridal effect | Practicality | Best for |
| Oval | Soft and timeless | High | Classic and romantic looks |
| Almond | Elegant and lengthening | Medium-high | Most bridal styles |
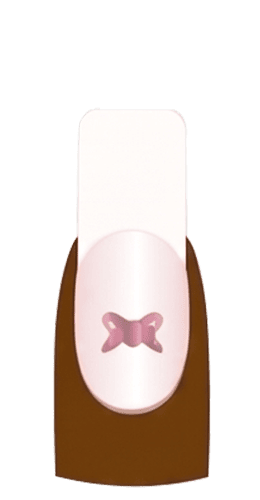
| Squoval | Natural and polished | High | First-time wearers |
| Short round | Minimal and comfortable | Very high | Practical brides |
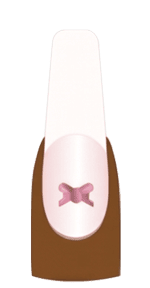
| Coffin | Bold and modern | Medium | Experienced long-nail wearers |
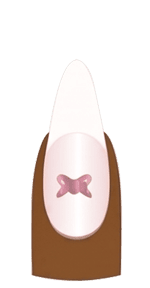
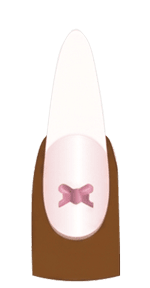
| Stiletto | Dramatic and editorial | Low | Statement looks |
For most first-time press-on wearers, short almond, oval, or squoval shapes offer the best balance of elegance and comfort. Your nails should still allow you to use your phone, fasten jewelry, handle dress buttons, open a clutch, and hold your bouquet securely.
The best bridal shape is one that complements your hands, dress, and overall bridal look while remaining comfortable throughout the day—not simply the longest or most dramatic option. Compare the available choices in our press-on nail shapes and lengths guide.
Once you have chosen the shape and length, review how to make press-on nails look natural so you can refine the cuticle placement, sidewall fit, base color, and overall finish before the wedding day.
Planning a longer shape? Practice daily tasks first with the tips in Can You Type With Long Press-On Nails?.
3. 8 Wedding Press-On Nail Styles and Who They Suit
3.1. Milky white and blush nude
These translucent, low-contrast shades suit minimalist, classic, and romantic dresses. They keep attention on the ring and bouquet while giving the hands a polished finish. Choose a nude that does not wash out your skin tone.
3.2. Classic or micro French tips
French tips remain a reliable bridal choice. A traditional tip feels timeless, a micro French looks more modern, and a soft ombré French creates a diffused finish. Explore more variations in Hana Nail’s French-tip press-on nail collection.
3.3. Pearl or glazed chrome
A pearl finish reflects light softly without looking heavily metallic. It works especially well with satin, silk, pearl jewelry, and evening reception lighting. Test it with flash before the wedding.
3.4. Floral and lace-inspired details
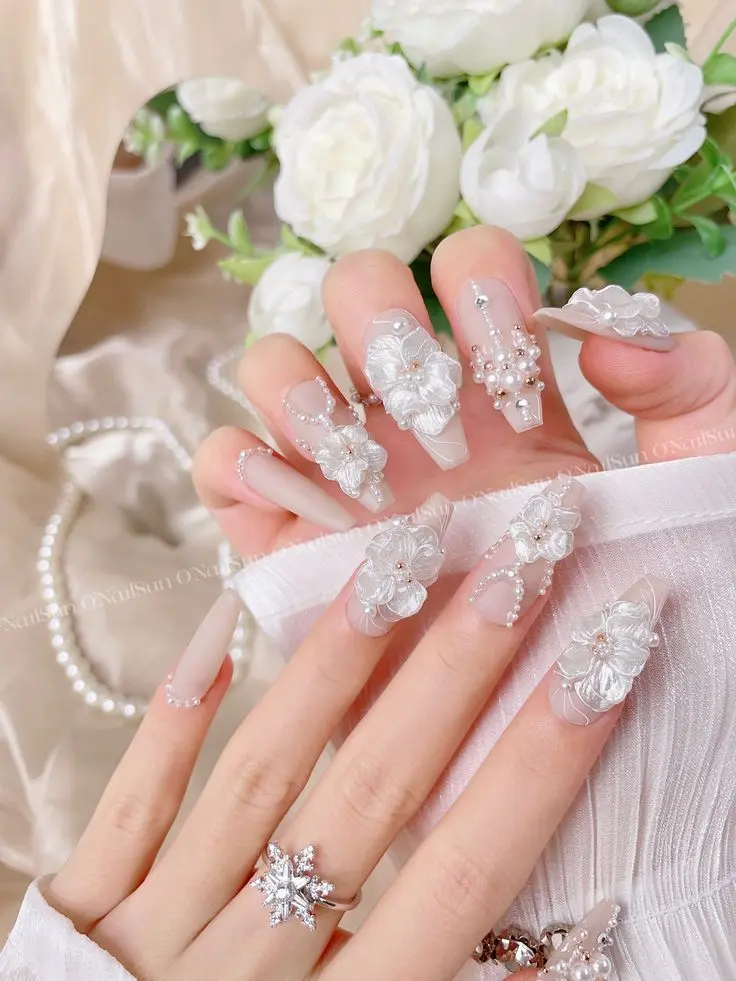
Small flowers, fine linework, and lace accents complement garden weddings and embroidered dresses. Keep raised decoration to one or two nails, then check that it does not snag on tulle, sleeves, gloves, or hair.
3.5. Something blue accents
Baby-blue micro tips, a blue flower, or one gemstone can satisfy the tradition without turning the entire manicure blue. This style works well when the wedding palette already includes pale blue or porcelain details.
3.6. Champagne cat-eye and soft gold
Champagne magnetic finishes and fine gold accents suit evening weddings, warm-toned dresses, and gold jewelry. Use metallic details selectively so the nails remain bridal rather than overly ornate.
3.7. Short minimalist wedding nails
Short oval, squoval, or soft almond nails can look refined while making it easier to manage jewelry, clothing, and a phone. For more practical design inspiration, see Hana Nail’s short press-on nail ideas.
3.8. Luxury or custom 3D bridal nails
Sculpted flowers, bows, pearls, and crystals can create a couture effect. They are best for brides already comfortable with statement nails. Test them with the dress and veil, and keep the remaining nails simpler for balance.
Browse more French tip press-on nails, short press-on nail ideas, and luxury press-on nail inspiration as you narrow down the final bridal look.
4. Best Press-On Nails for Weddings by Bridal Need
The best wedding press-on nails are not necessarily the most detailed or dramatic. The right set should complement your bridal look, fit your natural nails accurately, and remain comfortable throughout the activities you have planned.
Use this quick comparison to narrow down your options:
| Bridal need | Best press-on nail choice | Why it works |
|---|---|---|
| Best overall | Medium almond nails in milky white, blush, or a soft French design | Elegant, photo-friendly, and suitable for most dress styles |
| Best for first-time wearers | Short oval or squoval nails with a simple glossy finish | Easier to manage while using a phone, fastening jewelry, and handling fabric |
| Best for minimalist brides | Sheer nude, milky white, or micro French nails | Keeps the manicure polished without competing with the dress or ring |
| Best for romantic weddings | Pearl, floral, lace-inspired, or soft pink nails | Complements delicate fabrics, garden settings, and feminine details |
| Best for modern brides | Pearl chrome, asymmetrical French, or restrained metallic accents | Adds a contemporary finish without looking overly trendy |
| Best for statement looks | Balanced 3D flowers, crystals, bows, or sculpted details | Creates a couture effect for simple dresses and editorial bridal styling |
| Best for short wedding nails | Short almond, oval, or squoval nails in nude, French, or pearl finishes | Combines bridal elegance with greater comfort and practicality |
| Best for bridesmaids and guests | Blush, nude, pastel, or understated French designs | Coordinates with the wedding palette without copying the bride’s manicure |
Treat these recommendations as a starting point rather than a fixed rule. A visually perfect design is not the best choice if it feels uncomfortable, catches on your outfit, or does not fit your nail beds correctly.
Before ordering, compare the design with your dress, jewelry, bouquet, and usual nail length. Then complete a trial under realistic conditions. The best bridal set is ultimately the one that looks intentional, stays comfortable, and allows you to enjoy the day without constantly checking your nails.
Explore Hana Nail’s Wedding Nails collection to compare bridal designs by color, shape, finish, and level of decoration.
5. Nail Glue or Adhesive Tabs for a Wedding?
| Factor | Nail glue | Adhesive tabs |
| Hold | Usually more secure | Better for shorter wear |
| Removal | Requires more care | Usually easier |
| Reuse potential | Glue residue may need cleaning | Often easier to reuse |
| Best wedding use | Ceremony and reception | Photoshoots and shorter events |
For many brides, glue is the more practical option for a full ceremony and reception. Tabs can work well for engagement photos, bridal showers, rehearsal dinners, or a trial set that you want to remove easily.
No adhesive method guarantees identical wear for every person. Fit, nail preparation, adhesive amount, water exposure, and activity all affect the result.
Compare adhesive formats in Best Nail Glue for Press-On Nails, then review How to Make Press-On Nails Last Longer before your trial.
6. Your Wedding Press-On Nail Timeline
6.1. Six to eight weeks before
Choose the color, shape, length, finish, and level of decoration. Save reference images of the dress, jewelry, bouquet, and wedding palette so the manicure can be evaluated as part of the full look.
6.2. Three to four weeks before
Measure every natural nail and record the correct size for each finger. Do not assume both hands use identical sizes. Check current production and delivery estimates before ordering a custom set.
Use Hana Nail’s sizing chart and follow the full guide on how to size press-on nails correctly.
6.3. One to two weeks before
Complete a trial. Wear the set while using your phone, fastening jewelry, holding a bag, and handling lace or a similar fabric. Photograph it in daylight and flash. Note pressure, lifting, snagging, or any size that needs changing.
6.4. Two to three days before
Prepare your adhesive, file, alcohol wipes, cuticle stick, storage case, and labeled spare nails. Avoid aggressive buffing or any treatment that leaves the natural nails or surrounding skin sore.
6.5. The evening before or wedding morning
Choose the calmer window in your schedule. Clean your hands, make sure the nails are completely dry, and remove surface oil with an alcohol wipe if recommended by the adhesive instructions. Avoid lotion immediately before application and leave enough time to work without rushing.
7. How to Apply Wedding Press-Ons Without Last-Minute Stress
- Lay out the ten press-ons in finger order and confirm every size.
- Clean and completely dry the natural nails.
- Apply the chosen adhesive according to its instructions.
- Align each press-on carefully and press it firmly into place.
- Avoid water immediately afterward and pack the spare set.
For full preparation, glue placement, and application instructions, follow How to Apply Press-On Nails.
8. Build a Wedding-Day Nail Emergency Kit
Keep the kit small enough for a bridesmaid, maid of honor, or coordinator to carry. Include:
- Mini nail glue
- Extra adhesive tabs
- Labeled matching spare nails
- Alcohol wipes
- A small nail file
- A cuticle stick
- Cotton swabs
- A compact storage case
Thumbs, index fingers, and middle fingers often handle the most objects during the day, so prioritize matching spares for those sizes.
If a nail comes off
- Clean and completely dry the natural nail and the press-on.
- Reapply the undamaged nail or replace it with the labeled spare.
- Use only the necessary amount of glue and press firmly.
For a more detailed repair method, see How to Fix a Press-On Nail That Falls Off.
9. 6 Wedding Press-On Nail Mistakes to Avoid
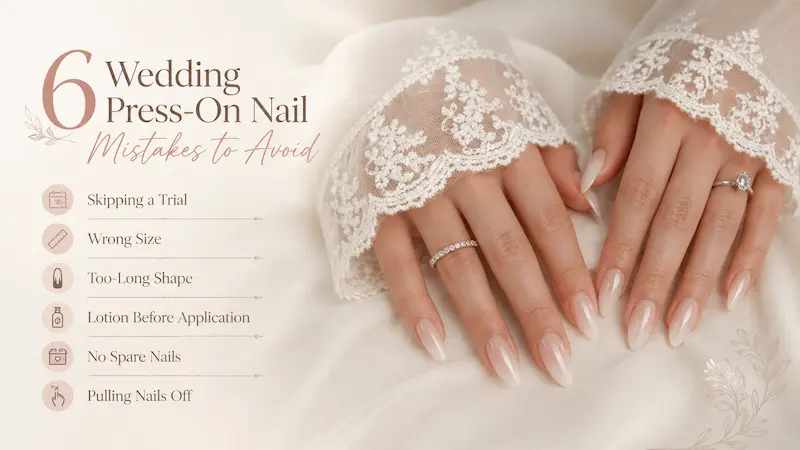
- Choosing a design before confirming that every size fits correctly.
- Wearing a much longer shape than you have practiced with.
- Applying nails immediately after lotion or prolonged water exposure.
- Using large decorations without testing them against lace, tulle, hair, or a veil.
- Trying an unfamiliar adhesive for the first time on the wedding day.
- Forgetting labeled spare nails and a simple repair kit.
After the celebration, do not pull or peel the nails off. Use the steps in How to Remove Press-On Nails Without Damage.
10. Using Press-Ons Across Your Bridal Events
Adhesive tabs can be useful for engagement photos, bridal showers, or rehearsal dinners when you want a temporary set that is easier to remove. Reserve the final bridal design and the adhesive you tested for the wedding day. Bridesmaids can coordinate through a shared color family rather than identical designs, but each person should measure her own nails.
11. Final Bridal Nail Checklist
- Confirm the design, shape, and length.
- Measure all ten natural nails.
- Complete one full trial.
- Check the set with your ring, dress fabric, and camera flash.
- Choose and test the adhesive.
- Apply without oil, lotion, or moisture on the nail surface.
- Pack labeled spare nails and a repair kit.
Frequently Asked Questions
Are press-on nails good enough for a wedding?
Yes. A correctly sized, carefully applied set can look elegant and natural in person and in photographs. The quality of the fit and the pre-wedding trial matter more than whether the manicure was created at home or in a salon.
When should I order wedding press-on nails?
Order early enough to measure, receive the set, and complete a trial before the wedding. Custom designs may need additional production time, so check the current lead time and delivery estimate before placing the order.
When should I apply wedding press-on nails?
Many brides apply them the evening before or on the wedding morning. Choose the less rushed option and make sure you can keep the nails dry immediately after application.
Should I use nail glue or adhesive tabs?
Glue is generally better suited to a full ceremony and reception. Tabs are useful for shorter events, trial wear, or easier removal. Always test the chosen adhesive before the wedding.
Can wedding press-ons look natural?
Yes. Natural-looking results depend on accurate width, a cuticle line that fits your nail shape, suitable length, and careful placement. Oversized nails and visible side gaps make a set look less realistic.
Can a bride wear short press-on nails?
Absolutely. Short oval, squoval, and soft almond nails can look refined while making it easier to use a phone, fasten jewelry, change clothes, and handle delicate fabric.
What should I do if one falls off during the wedding?
Clean and dry both surfaces, then reapply the undamaged nail or use a labeled spare with a small amount of glue. Avoid layering new glue over moisture, oil, or loose residue.
Final Thoughts
Wedding press-on nails work best when fit comes before decoration. Choose a shape you can comfortably wear, complete a realistic trial with your dress and jewelry, and keep a labeled spare set nearby. Those few preparations can make the manicure feel like a reliable part of the bridal look rather than another last-minute concern.
Explore Hana Nail’s Wedding Nails collection to find a bridal set that complements your dress, jewelry, and wedding style.