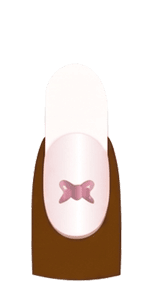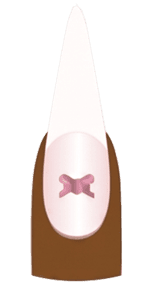
Application & Nail Care
Can You Cut, File, or Reshape Press-On Nails?
You find a press-on nail set with the perfect color or artwork, but the tips are longer, wider, or more pointed than you want. In many cases, you can shorten, file, or reshape them—but the safest method depends on the nail’s material, construction, design, and adhesive system.
Light filing is usually a lower-risk adjustment. Major cutting can crack a thin tip, weaken the sidewalls, alter the nail’s proportions, or remove part of a French, chrome, cat-eye, hand-painted, or 3D design. The goal is to improve the fit or shape without damaging the nail you wanted to wear.
QUICK ANSWER: Yes, many press-on nails can be cut or filed. Make major changes before applying adhesive whenever possible, remove length gradually, and stop if you see a spreading white stress line, crack, separating layers, or a distorted curve. Manufacturer instructions always take priority.
1. Quick Answer: Can You Safely Cut or File Press-On Nails?
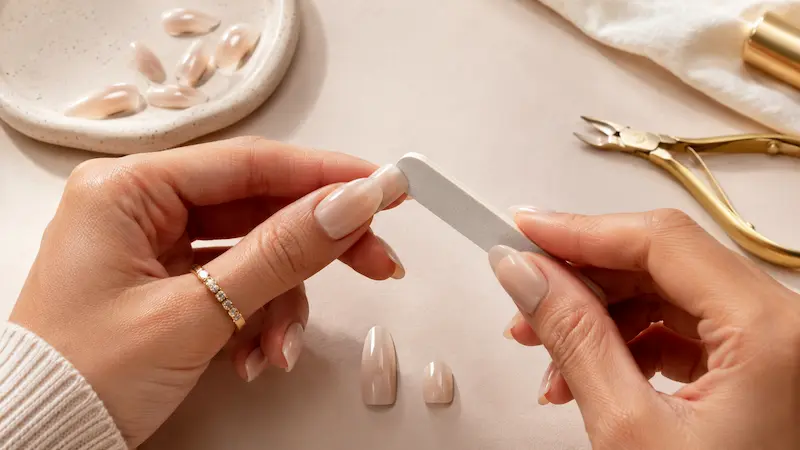
Many press-ons can be customized, especially plain or solid-color tips. Blank full-cover tips marketed for customization generally tolerate more shaping than finished press-ons with layered color, artwork, chrome, magnetic effects, or sealed edges.
Before changing a set, ask three questions:
- What material and construction is the nail made from?
- Will the cut or filing line remove, expose, or distort the design?
- Does the manufacturer or seller provide specific cutting or filing instructions?
Cut, file, or choose another nail?
| Situation | Best approach |
| Slightly too long | File the free edge gradually. |
| Much too long | Trim in small sections, then refine with a file. |
| Corners feel sharp | Soften the corners with a fine file. |
| Tip is slightly too wide | File the sidewalls before application and dry-fit again. |
| Tip is too narrow | Choose another size; filing cannot add width. |
| Curvature does not match | Choose a better-fitting tip instead of forcing it flat. |
| Artwork or charms cross the cut line | Limit reshaping or ask the seller whether the edge can be altered. |
| Manufacturer says not to cut | Follow the product-specific instructions. |
2. Which Press-On Nails Can Be Reshaped?
The same technique can produce very different results on different nail constructions. Check the material, finish, and placement of the artwork before deciding how much to remove.
2.1. Plain plastic and blank full-cover tips
Plain ABS plastic or blank full-cover tips are usually the easiest to shorten and reshape. Because there are fewer decorative layers, controlled filing is less likely to expose another color or break the visual balance. Plastic can still develop white stress marks when squeezed with a dull clipper, so gradual cuts are safer than removing most of the free edge at once.
2.2. Finished plastic and soft-gel press-ons
Finished plastic and soft-gel tips can often be filed cleanly, but excessive sidewall filing may make them flexible or asymmetrical. A small length adjustment is usually more realistic than rebuilding the entire silhouette. Do not thin the sidewalls or the thicker structural area of a long tip simply to create a narrower-looking shape.
2.3. Handmade and multi-layer sets
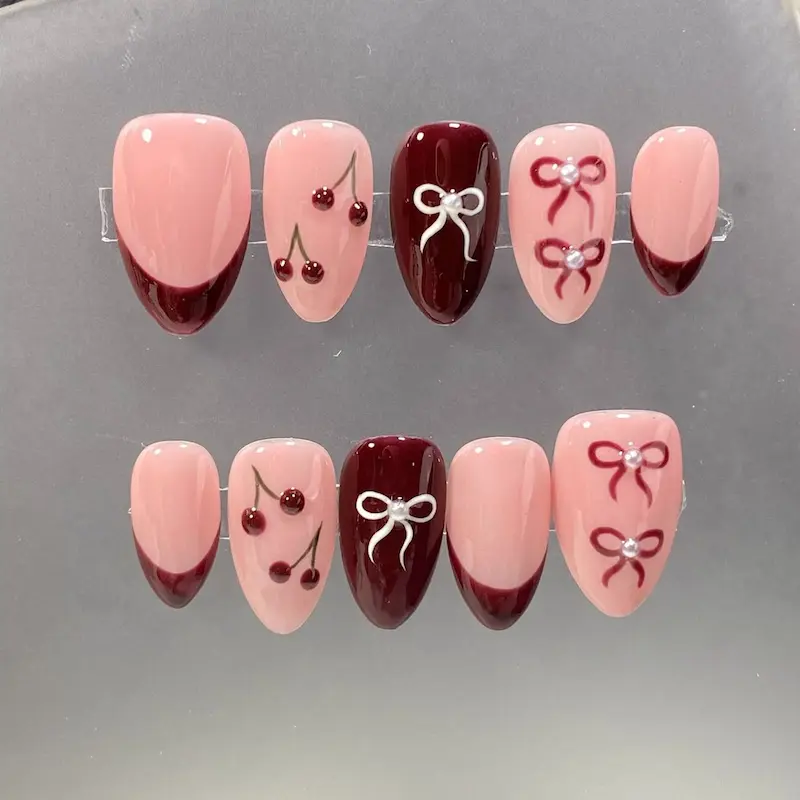
Handmade press-ons may combine a base tip, gel color, painted details, chrome or magnetic effects, sculpted artwork, and a protective top layer. Cutting through the finished edge can expose those layers or make the design look incomplete. When artwork reaches the free edge, minor smoothing may be possible, but dramatic shortening can change the intended proportions.
Because Hana Nail designs and sells handmade press-ons, we recommend checking the product construction or asking the seller before making a major change to a layered set. This is especially important when the edge may need to be resealed after filing.
2.4. French, ombré, chrome, cat-eye, jelly, and 3D designs
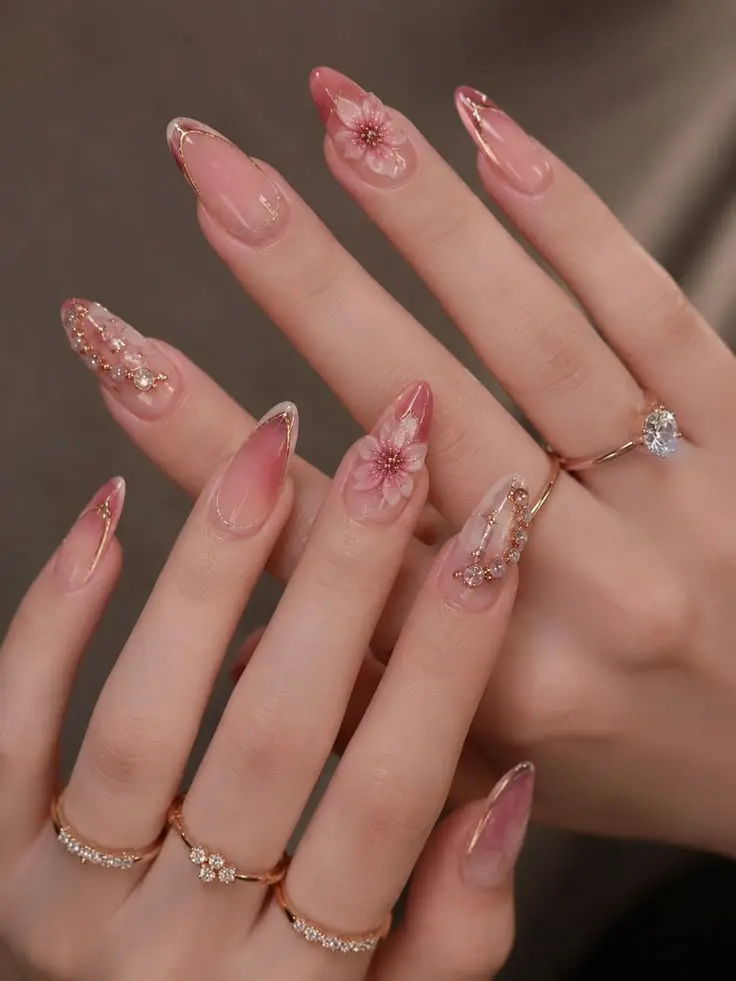
Decorative placement matters as much as material. A French tip may become too thin, an ombré can lose part of its gradient, and a cat-eye highlight may no longer appear centered. Filing through chrome or foil can expose the base color, while rough edges are particularly visible on jelly or transparent nails.
Do not cut through charms, sculpted flowers, bows, pearls, or raised gel art. Pressure near a decoration can loosen it or separate the surrounding layers. When a feature sits close to the free edge, a shorter set is usually a better choice.
3. Should You Reshape Press-Ons Before or After Applying Them?
Complete major cutting, sidewall filing, and cuticle-edge adjustments before applying adhesive whenever possible. An unattached nail is easier to support and inspect, and filing dust can be removed before it reaches the bonding area.
After application, light filing can help balance one nail that looks slightly longer, smooth a rough edge, or soften a sharp corner. Wait for the adhesive to bond according to the product instructions before applying pressure. Some pre-adhesive products have their own restrictions; for example, the imPRESS FAQ advises users not to cut the nails and to wait before filing them.
Reshaping should not replace correct preparation or placement. For the complete attachment routine, follow our step-by-step guide to applying press-on nails. Use this article only for the adjustments that affect length, edge, or shape.
A practical order of work
- Dry-fit all ten nails and check the artwork from the top, front, and side.
- Mark the desired length and complete major cutting before applying adhesive.
- File the edge and make small width adjustments, then dry-fit again.
- Remove all dust and apply the nails normally.
- After the adhesive has set, make only minor final adjustments if needed.
4. Tools and File Grits to Use
Use sharp, clean tools intended for nail work. The exact grit depends on the thickness and finish, but a conservative starting point is:
- Around 180 grit for controlled shortening or shaping on artificial tips with moderate thickness.
- Around 220–240 grit for smoothing and finishing the edge.
- A dedicated artificial-nail tip cutter for larger length reductions on a suitable undecorated tip.
- A washable marker or pencil for marking the intended length.
- A lint-free pad or soft brush for removing filing dust.
Small, sharp manicure scissors may work for tiny snips on thin, undecorated tips, but they are not ideal for thick, highly curved, layered, or heavily decorated press-ons. Avoid dull household scissors, damaged clippers, very coarse files, and electric drills unless you have the skill to control them.
KNOW THE PARTS: The free edge is the portion extending beyond the fingertip. The sidewalls are the two long edges. The cuticle edge is the base of the press-on. The apex is the higher or thicker structural area found on some longer tips.
5. How to Shorten Press-On Nails Without Cracking Them
5.1. Step 1: Dry-fit and inspect the nail
Place each tip over the correct natural nail without adhesive. Check where the design ends, whether both sidewalls fit, and how much free edge can be removed without cutting into an important detail or the thicker structural area. Do not assume all ten tips need the same reduction.
5.2. Step 2: Mark a conservative cut line
Mark the nail about 1–2 mm longer than your intended final length. Cut outside the mark, then file down gradually. Leaving this small margin gives you room to correct an uneven edge.
5.3. Step 3: Support the underside
Hold the tip securely without flattening its natural curve. Support the underside close to the cut line so the nail does not bend or snap beyond the marked area.
5.4. Step 4: Remove length in small sections
Do not crush through a strongly curved tip in one large cut. Work from one side and then the other, taking small sections toward the center. Stop frequently and inspect for whitening, cracking, or separating layers.
5.5. Step 5: Compare matching fingers
Compare index with index, middle with middle, and so on. Check the nails from three views: top, front, and side. A free edge can look even from above but appear tilted from the front.
5.6. Step 6: Refine the edge with a file
For straight shortening, hold the file close to perpendicular to the free edge. For oval or almond shaping, angle the file along each side and work toward the center line. Alternate sides frequently so the result remains symmetrical, and avoid thinning the sidewalls unnecessarily.
5.7. Step 7: Smooth, clean, and inspect
Finish with a finer file until the top and underside no longer feel rough. Remove every trace of dust before application. A compatible clear top coat may cosmetically reseal some painted edges, but it cannot restore every chrome, foil, cat-eye, jelly, or layered finish—and it should never be used as a structural repair for a cracked or delaminating nail.
6. How to File or Reshape Press-On Nails
6.1. Shortening the free edge
Use light strokes and check the length every few passes. If you want to preserve a square edge, keep the file nearly straight across. To create a rounded edge, soften each corner gradually rather than filing rapidly from side to side with heavy pressure.
6.2. Narrowing a slightly wide tip
Sidewall filing is appropriate only when a tip is slightly too wide. Dry-fit the nail, identify the small area that overlaps the skin, remove a little material, and test again. The tip should cover the natural nail from sidewall to sidewall without sitting on the skin.
Do not keep filing because a nail feels tight or rocks in the center; that may be a curvature mismatch rather than excess width. Our press-on nail sizing guide explains how to identify a genuinely wrong size before altering the tip.
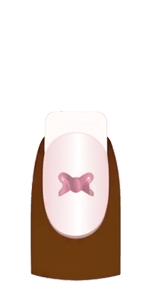
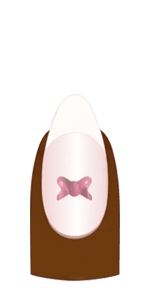
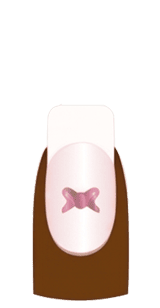
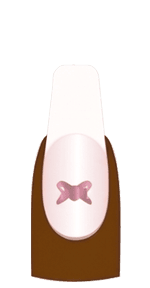
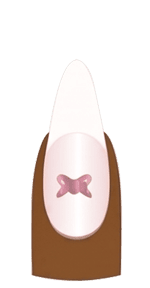
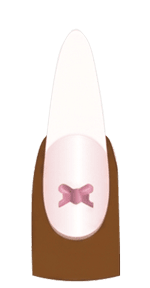
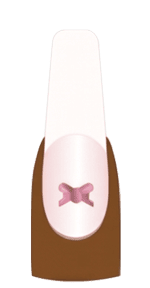
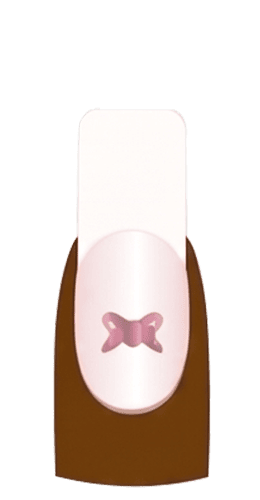
6.3. Changing common shapes
| Original shape | Realistic conversion | Difficulty |
| Square | Squoval, oval, or short almond | Easy to moderate |
| Coffin | Soft square, squoval, or almond | Moderate |
| Stiletto | Almond or oval | Easy to moderate |
| Almond | Oval or round | Easy |
| Long oval | Short oval, round, or squoval | Easy |
| Short round | Long coffin, stiletto, or long almond | Not realistic |
6.3.1. Square to squoval
Shorten the free edge if needed, then lightly round both corners while retaining most of the straight edge. This is one of the easiest conversions and usually preserves the design better than a dramatic taper.
6.3.2. Square or coffin to almond
This change requires enough length. Mark the center, taper both sidewalls toward it, switch sides frequently, and soften the point. Stop before the sidewalls become thin or flexible.
6.3.3. Stiletto to almond or oval
Reduce the sharpest part of the point, then round both sides evenly. Because the original shape already narrows toward the center, this is generally easier than turning a short, wide square tip into an almond.
Reshaping works best when the original silhouette is already close to the result you want. For choosing a practical length before purchase, see our short press-on nail ideas and selection guide.
7. Stop Reshaping If You Notice These Signs
Stop cutting or filing and replace the nail if you notice:
- A white stress line spreading inward from the edge.
- A visible crack that changes when the nail flexes.
- Layers beginning to separate or a sealed edge opening.
- A charm, pearl, or raised decoration becoming loose.
- A sidewall becoming unusually thin or flexible.
- The tip losing its original curve or sitting unevenly during a dry-fit.
A rough edge can usually be refined with a finer file. A crack, delamination, or moving decoration is different: clear top coat may hide the appearance temporarily, but it does not restore the original structure.
8. What If the Nail Starts Lifting After Reshaping?
Do not pour more glue into an open gap. Cutting pressure may have disturbed the adhesive, dust may have reached the bonding area, or excessive sidewall filing may have changed how the tip sits. Remove the nail safely, clean away the old adhesive, and reassess the fit before reapplying it.
For troubleshooting beyond reshaping, read why press-on nails start lifting or follow the repair steps in how to fix a press-on nail that falls off.
9. When Choosing Another Size or Shape Is Better
Choose another tip or set when:
- Most of the original length would need to be removed.
- The cut line crosses a French tip, gradient, magnetic highlight, or important artwork.
- The press-on is too narrow or has a major curvature mismatch.
- A charm or sculpted detail prevents safe shortening.
- The manufacturer advises against cutting.
- Reshaping would require thinning the stress area or sidewalls substantially.
Customization is most successful when the original nail is already reasonably close to the intended result. If you repeatedly remove most of a long tip, starting with a short or medium-short set will usually preserve the design and structure better.
Frequently Asked Questions
Can you cut press-on nails after applying them?
Some press-ons can be shortened after application, but major cutting is easier to control before attachment. Once applied, wait for the adhesive to bond according to the product instructions and limit the work to controlled trimming or light final filing.
Can you use regular nail clippers on press-on nails?
A regular clipper may work on some thin, plain tips, but a dull or strongly curved clipper can flatten the arch and create stress marks. A dedicated tip cutter or several small, supported cuts generally offers more control.
How much can you shorten press-on nails?
There is no universal safe amount. Stop before you cut through the thicker structural area, thin the sidewalls excessively, or remove enough design that the nail looks unbalanced. When a dramatic reduction is required, choosing a shorter set is usually the better option.
Should you reseal the edge after filing?
Some compatible painted or layered finishes may benefit from a thin clear top coat, but other finishes can change in color, texture, or shine. Check the product instructions or ask the seller. Never use top coat as a repair for a crack or separating layers.
Can reshaped press-on nails still be reused?
They may remain reusable when the structure is intact and the nails are removed without damage. Do not reuse a tip that has developed a crack, delamination, excessive thinning, or a weakened edge. For cleaning, storing, and reapplying intact sets, see our guide to reusing press-on nails safely.
Final Thoughts
You can cut, file, or reshape many press-on nails, but successful customization depends on knowing what the nail can tolerate. Minor shortening, smoothing, and corner adjustments are easier to control than dramatic shape changes. Plain tips generally offer more flexibility, while layered handmade designs, chrome, cat-eye, French artwork, and 3D decorations require greater caution.
Dry-fit first, remove material gradually, protect the sidewalls and structural areas, and follow the product-specific instructions. When reshaping would remove most of the design or weaken the tip, choosing a better-fitting shape and length is the safer—and usually better-looking—solution.
Sources and Editorial References
- imPRESS Beauty — Application and filing FAQ
- Glamnetic — Customizing press-on nails
- L’Oréal Paris — Press-on nail fitting and application guidance
- ShadePax — Shortening press-on nails without cracking
Editorial disclosure: Hana Nail designs and sells handmade press-on nails. This guide is based on practical product-handling principles and publicly available manufacturer guidance. Because materials and construction vary, follow the instructions supplied with your specific set.